Creating, Configuring and Generating a Powermanager Report
Scenario: You want to configure a report and view its contents as a PDF/XLS.
Reference: For background information, see the reference section.
Workflow diagram:
Prerequisites:
- System Manager is in Operating mode.
- System Browser is in Application View.
- For printing a report, ensure that one or more local printers are configured.
Steps:
1 – Create and Configure Report Definition
- Select Applications > Powermanager > Report Defintion.
- Click Create
 and select Create Report Definition.
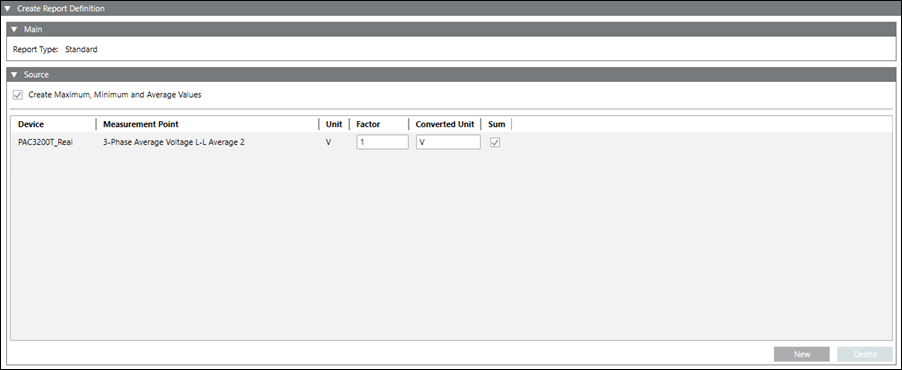
- Select the desired report type.
- Perform the required configuration depending on the type of report.
- Click Save
 .
.
- The report definition is created and displays under the Report Definition folder in System Browser.
2 – Generate a Report
- Select the report definition from the System Browser.
- In the Primary pane, select the Application Viewer tab.
- The Parameter dialog box displays. The fields in the Parameter dialog box will vary according to the type of report selected. The available options include the following:
- Duration
- Interval Type
- Interval Length
- Additional Interval
- Chart Type
- Chart Interval
- From Date Time
- To Date Time
- Specify the required parameters and click Execute.
- The report is generated and displays data according to the specified parameters. You can navigate to the different pages on the report using the navigation icons on the top right corner.
3 – View the Report as PDF or Excel
- In the generated report, click Export report
 that displays on top of the report output.
- The Export Report dialog box displays.
- In the Export Format drop-down list, select the required format for the report.
NOTE: You can also print the report output.